I found this chest of drawers at Goodwill about two years ago. The drawers were quite snug and wouldn't open without a serious struggle. It also had a musty smell which can be common in older pieces, especially if they have been in storage.
I spent hours working on the drawers sanding and hand planing so they would open and close without catching and becoming stuck. Then it sat for several more months because I couldn't decide what to do with it. I thought about restoring it and even bought the product I wanted to use. After cleaning it and looking closely I decided that it was not in good enough condition to restore so I decided to paint it instead.
I usually like to have a pristine paint finish and have a very difficult time distressing. However on this piece I wanted to try something new for me. I wanted to do a farmhouse grunge finish. I don't even know if that is such a thing but it was what I envisioned for her!
I am a paint collector. If I ever see a neutral shade or a pretty color in the oops or mistint section I snatch it up. No matter how much paint I already have, I buy it. I think I am to the point of needing therapy for the problem! In situations like this it comes in handy though because I have paint in all shades to choose from. For this piece I selected several colors in white, off white and grays. I mixed in a chalky paint additive that I make and carry in my shop.
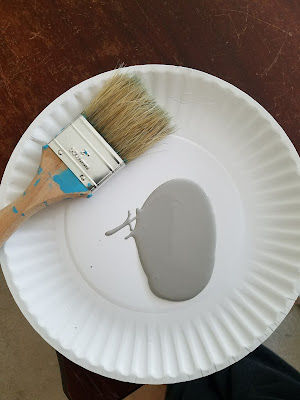
To get the look I wanted I knew it would need several layers. I started dry brushing the first layer.
The first application was an off white/beige color.
Here it is after the first layer. As you can see, it has a very light coat. I painted in different directions to give it more texture for the glazed grungy look I wanted to achieve. The good thing about dry brushing is the coats dry super fast so there is no waiting between coats on the larger pieces.
The second coat was a gray color.
The third layer was kind of a "French Linen" taupe color.
This was after the third layer.
I kept repeating the first three colors.
If there was too much of one color I would lightly dry brush another color over it .
I added a layer of General Finishes Snow White Milk Paint.
After I got the paint layers the way I wanted, I applied a light coat of General Finishes High Performance Flat Top Coat. The top coat should be used before applying glaze to help manage it a little better.
I used a portion of an inexpensive car wash sponge from Walmart. I cut a slit to help grip the sponge. I love using these sponges for applying paint, stain and top coat. I poured a little Top Coat in a container to apply so I wouldn't contaminate the rest.
Next I applied General Finishes Black Glaze. I got a little heavy with it on the bottom and had to sand it back a little. I must have been a little too stingy with the top coat because the glaze didn't want to budge!
Crazy Indiana weather it's either too hot or too cold or too wet to work in my garage so I have to work in the house! The mess drives me nuts but as long as I have a shop I am resolved that I'm going to have projects in various stages of progress and other product scattered about. It is the nature of the beast!
Anyhoo, back to the project. Here she all finished and perfectly grungy.
This painting technique was way out of my comfort zone and honestly there were times during this project that I was so nervous that I felt nauseous. I kept reminding myself that it was only paint. In the end I'm glad I took the risk!
You can see in this close up shot how the layers added texture to give the glaze something to grip to. If I wasn't going for the grungy look I would have not been very pleased with this much glaze. But for this piece, it was exactly what I wanted!
Next time I'll show you how I got the beautiful faux stained finish on the top!


